Flat tires are the nightmare of every cyclist. How many times have you thought about going for a ride only to find a flat tire greeting you when you open the garage door? Flats may be the biggest reason a bike sits abandoned and gathering dust, but they are not a problem you have to just accept. We’ve come up with a few easy steps you can take to prevent flat tires so you can hop on your bike without worry.

These are easy steps to take, but it took years of riding to learn them and put them to use. Even if you’re an experienced rider don’t assume every idea is one you know. Read on and you might be surprised by an idea you haven’t heard.
When I started riding bikes, it was normal to get three or four flats on a 20 mile mountain bike ride. I would set out for a ride with at least two spare tubes and multiple patch kits and I would actually use most of the patches and tubes during the ride. Those were dark times.

With the recommendations below, I can now ride for a season or more on my commuter, cruiser, and mountain bikes without getting a single flat on any of them. One word of caution: never brag about how long it’s been since you’ve had a flat tire. The universe WILL repay your bragging with a flat.
These are just a few suggestions from our own experience but we know there are other things you can do. Your local bike shop may have additional recommendations and we encourage you to stop in and ask their advice too. Feel free to share your own recommendations in the comment section!
One more thing: we don’t get a commission from any product linked below, it's just stuff that we like and use.
Run the Right Tire Pressure
Running the right tire pressure is critical to avoid flats. The recommended range or maximum pressure will be printed on the sidewall of your tire, and we recommend staying in the tire manufacturer’s range.

If you hear a ding or crunch (please no!) just before getting a flat, you probably just experienced a pinch flat from running too low of tire pressure. A pinch flat occurs when the rock or object you hit crushes the tube against the walls of your wheel, pinching a hole on both sides of the tube. If you see two punctures right next to each other it is a telltale sign of running too low of pressure and getting a pinch flat. Pinch flats can also cause damage to your rim.

When you remove your tube to repair the flat tire pay close attention to the alignment of the wheel, tire, and tube. With the tube out, inflate it to find the leak. If it's a slow leak you can submerge the tube in water and look for bubbles, or hold it around your head to listen for the leak. You’ll want to check the wheel and tire for issues in the same area where the tube is punctured. When you install your tire you can align the logos with the valve stem so you always know where to check your tire and rim if you puncture a tube.

When you experience a pinch flat, a hard enough impact can also damage your rim. Make sure to look at the rim where the flat occurred to check for deformation or “flat spots” where the rim has been visibly damaged. A small ding may not be an issue, but larger ones can require professional repair. If you see a crack in the rim you absolutely cannot ride it and need to replace the rim.

Check for debris in the tire
Any time you have a flat you should check if some debris has punctured your tire, as it could still be stuck in the tire and cause a new flat. Just because there’s not a nail, thorn, or other object clearly visible doesn’t mean there’s nothing there.

With the tire off the bike, run your hand all the way around the inside of the tire, making sure to check the sidewalls too. It’s a good idea to wear a glove on the first pass in case there is something sharp embedded in the tire.
The inside of the tire should be nearly smooth besides the texture of the tire itself. If you feel anything poking through the tire, it could be the source of your puncture. It doesn’t even have to be sharp – the smallest debris rubbing against your tube will make a hole in no time.
If you feel something catch when running your hand around the tire use a pair of pliers to either pull it out or push it through from the inside. If you can push it out a little from the inside of the tire, then you should be able to grab it from the outside with the pliers.
Bonus Tip: Never ride through grass. In many parts of the USA there are spiky little grass burs that can be a minefield for your tires. Fortunately Super Hero Goathead Greg has made it a personal mission to remove them by hand, and has pulled hundreds of pounds of weeds from Denver area trails.
Check your wheels
Did you know that a problem with your wheels can cause flat tires? If you get repeated flats then the problem might be caused by your wheel instead of foreign debris. A loose or damaged spoke can poke through the rim of the wheel into the tube.
Take your tire off and look around the inside of the wheel for a break or bump in the rim tape. Pay special attention to the part of the wheel where you had the flat tire. If you see a spoke poking through you’ll want to bring the wheel into a local shop for a repair and wheel true, and mention your issues with flats while you’re there.
Add Sealant to your tubes
Once your bike is in good working order, the next simplest thing you can do to prevent flat tires on your bike is to add sealant to your tubes. There are also tubes available that already have sealant inside, like those made by Slime.
This isn’t a perfect solution because a sharp object poking through your tire can keep a puncture open, and larger holes won’t be prevented. Still, adding some sealant to a tube can be cheap and easy insurance to prevent some flats. Sealant in your tubes works best to stop the slow leaks that you might not notice on your ride but end up deflating your tire overnight and make you late to work the next day.
We use Stan’s No Tubes on all of our bikes. If you ask your expert friend or local bike shop what they recommend, it’ll almost certainly be another brand. There are numerous sealant options on the market now, and just like wheel sizes, everyone has a preference and is ready to tell you why.

We use Stan’s for a simple reason – it’s already in the garage and is our go-to sealant for tubeless wheels and tires. For the bikes that aren’t yet tubeless, we add some Stan’s to the tubes and are happy with this extra bit of insurance. If you're just doing a couple of tires it comes in these convenient single dose bottles.
All you have to do is remove the valve core (they also have a tool for that) and squirt in a bottle of sealant. Here's a quick video showing it done.

Rotate your tire 90 degrees when adding the sealant so it drains down the tire instead of pooling right below the opening, and you’ll reduce the likelihood and severity of spilling. It’s still a good idea to put some cardboard below your work area in case some sealant spills out (it always does).

Now screw your valve core back in, and go for a ride!
The Stan's tool works for both presta and schrader valves (just remember not all presta tubes have removable valve cores).
Get Puncture resistant tires

Tires are the only part of your bike touching the ground (hopefully) and it’s worth investing in quality rubber. Most major tire companies now have tires in all types (road, commuter, mountain, fat, etc) that are built with puncture resistance. Each company has their own trade name and we’re not here to compare tires, so we encourage you to talk to your bike mechanic or do some online research and find a puncture resistant option that suits your needs.


Not all tires are created equally. Do you wonder why some high end bicycle tires cost more than an entire bike at a big box store? It’s not just a conspiracy to take your money – those fancy tires have some serious engineering and technology to back up that price tag. The good news is you don’t have to break the bank to get a major increase in tire quality. Quality puncture resistant tires can be found for $30-$40 USD (each).
Tires we currently have on our own bikes include:
Schwalbe Big Apple (K-Guard Lvl 3)
Schwalbe Road Cruiser (K-Guard Lvl 3)
Go Tubeless
Do you want to never replace a tube again? Unless your bike came tubeless ready, this is the step that's going to take some work and some cash. On the plus side, none of the above advice will make as big of a difference to prevent flats as going tubeless. You can ride over a cactus and not get a flat. It’s seriously like magic.
So what is tubeless?
Tubeless is a combination of compatible tires, wheels, and rim strips that work together to create an airtight seal and can be inflated without a tube inside. A sealant like Stan’s is used to seal any leaks and hold it all together. That means if you get a puncture while riding the sealant will quickly fill the hole and keep the tire from deflating. It’s honestly a game changer, but there are a few downsides that can come up:
-
Changing a tire is much more challenging, and usually requires an air compressor
-
Sealant dries out over time so you need to add it occasionally
-
You still need to carry spare tubes in case you get a puncture that’s too large to seal
-
Poorly installed tubeless systems are more likely to have issues
-
You may need new tires and possibly even new wheels for an optimal tubeless setup
There’s a good chance your wheels and tires aren’t tubeless ready. If they are, then you’re in luck: all you have to do is ask your favorite bike shop to set your bike up tubeless. You can try to tackle it yourself, but it’s not an easy thing for a first timer to do.
If you want to switch to tubeless, you should first check if your current tires and wheels are compatible. The tires will simply have a logo on them that says TR which stands for “Tubeless Ready”. Easy right?
![]()
Wheels are a bit harder. The best way to determine if your wheels are tubeless ready is to look up the bike model and year on the manufacturer’s website. They should list the wheel and rim model, and with any luck will say whether the rims are tubeless ready. If the manufacturer doesn’t say for sure, the best bet is to talk to your local bike shop.

What exactly makes a wheel tubeless ready? There’s a special sealing tape applied around the spokes that holds air around the rim, and wraps around to the bead of the tire to make a complete seal. All wheels have protective tape around the spokes to keep them from rubbing on tubes, though, so be aware that just because there’s tape doesn’t mean it’s sealing tape.
Conclusion
Do you want to ride your bike more? Preventing flats will let you have more fun and worry less so you’re bound to get out and ride more. You can make a huge difference by doing a simple inspection and by changing to puncture resistant tires. Switching to tubeless is a no brainer if the bike is setup for it, but if it’s not you’re probably best off sticking to the other options we’ve described.

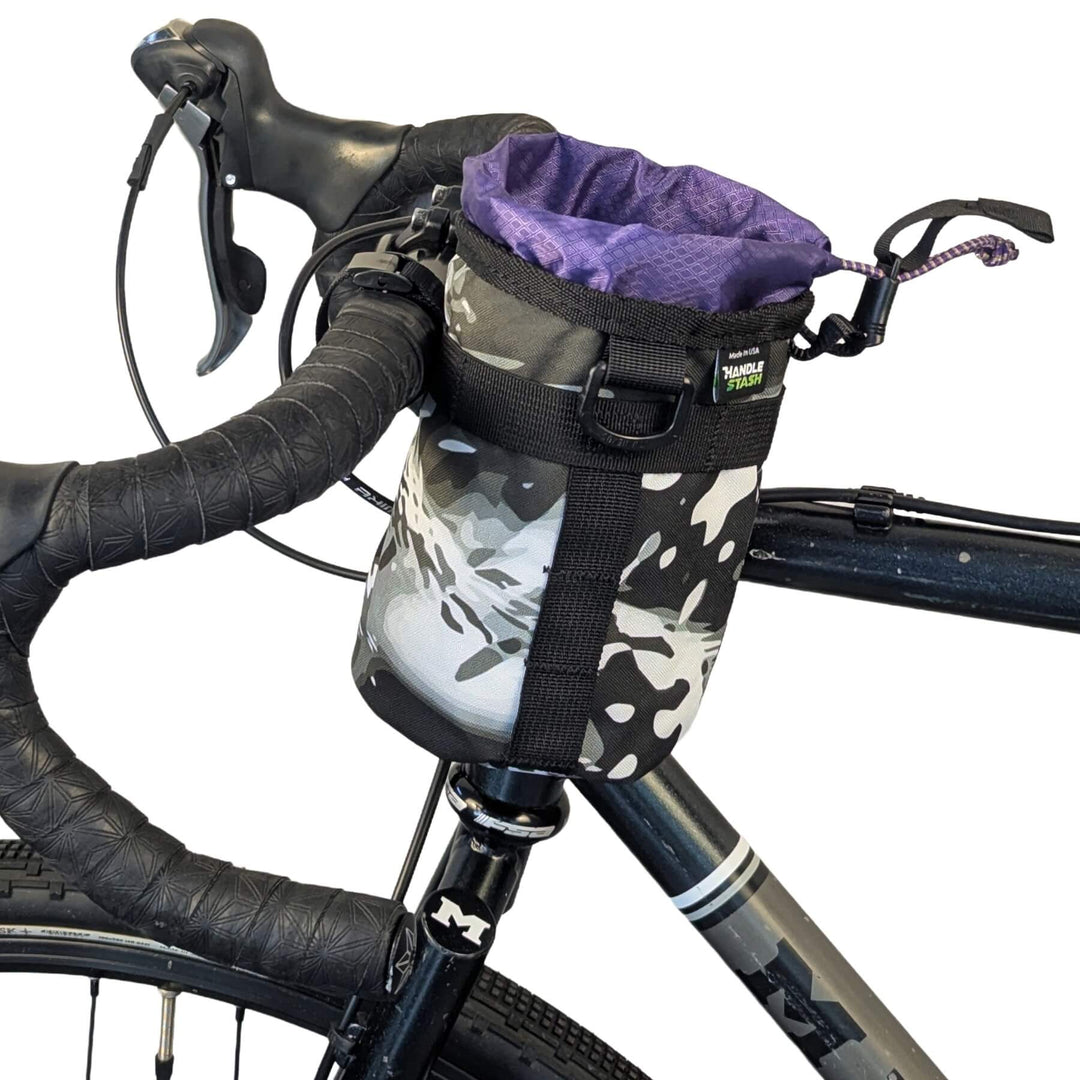
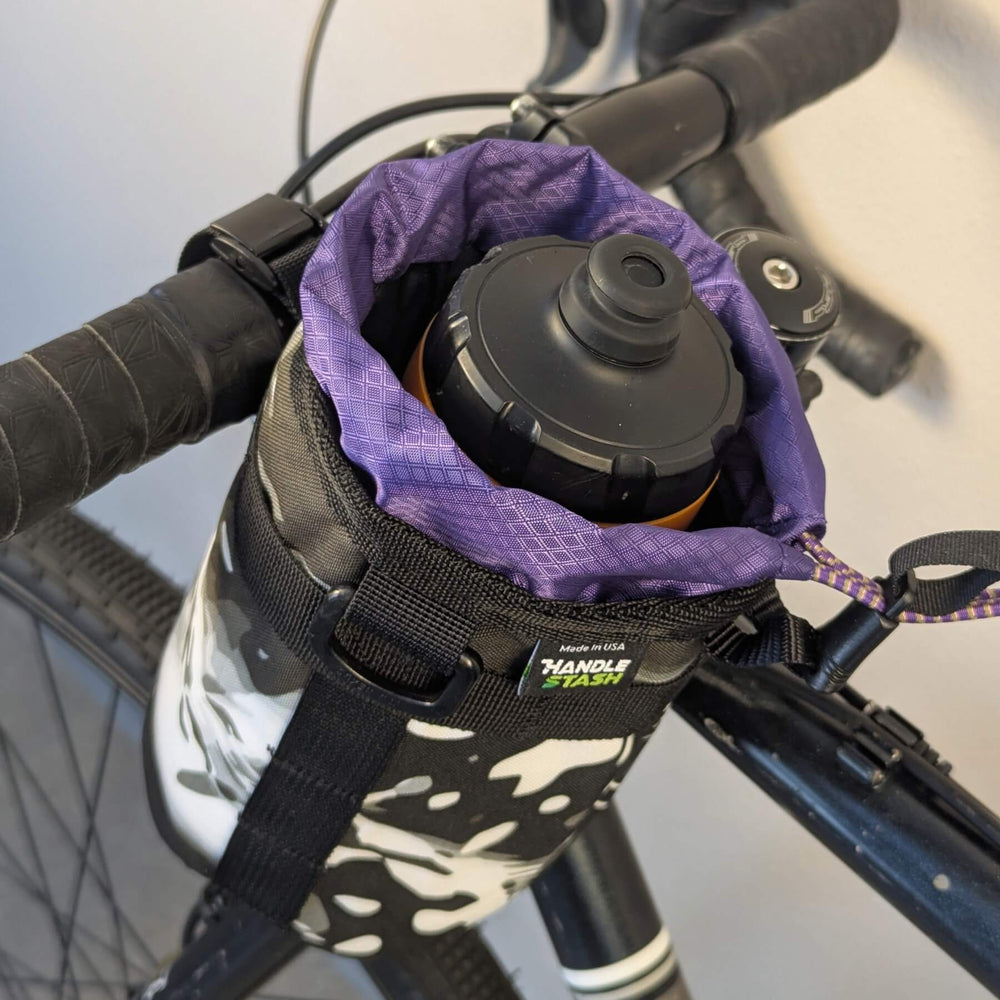
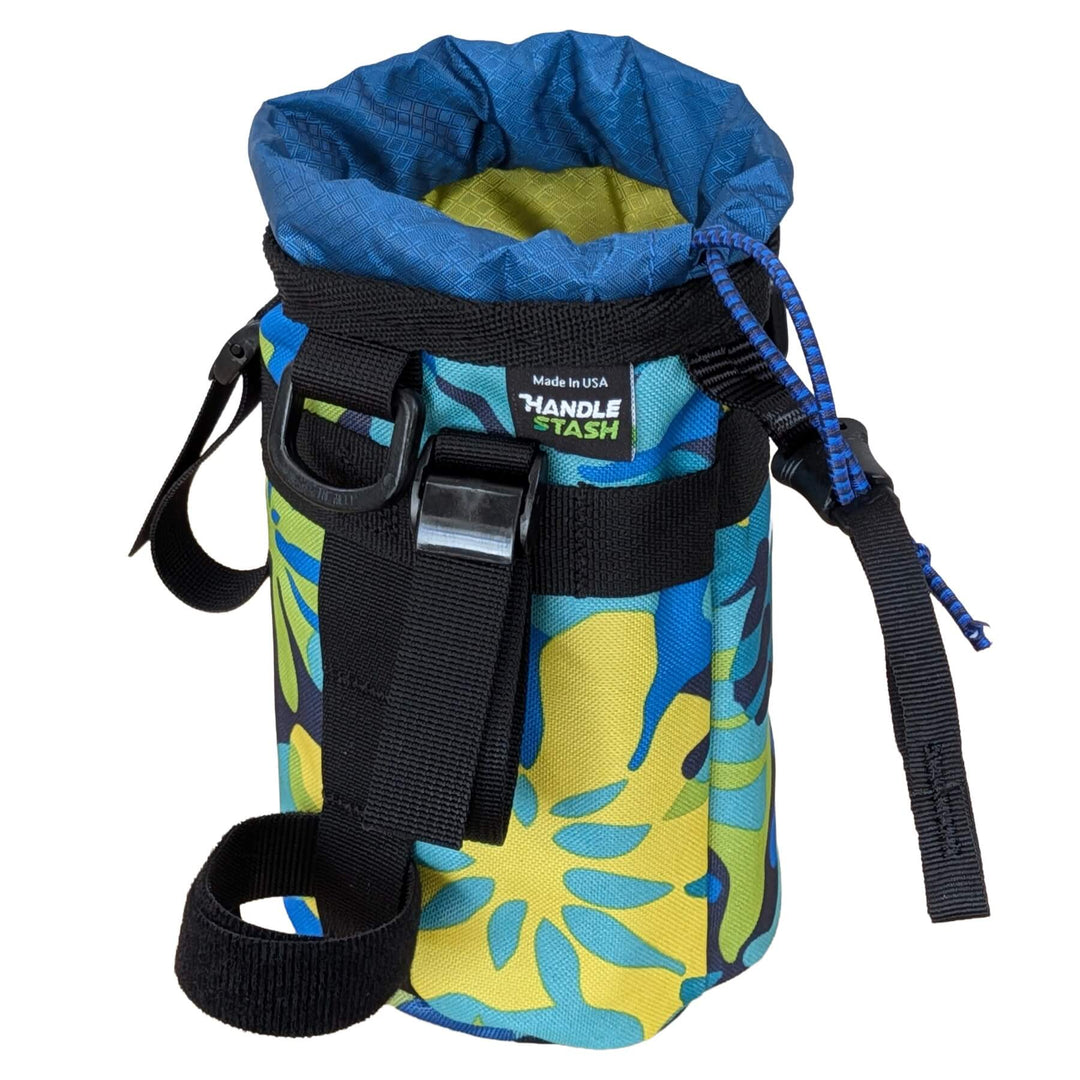
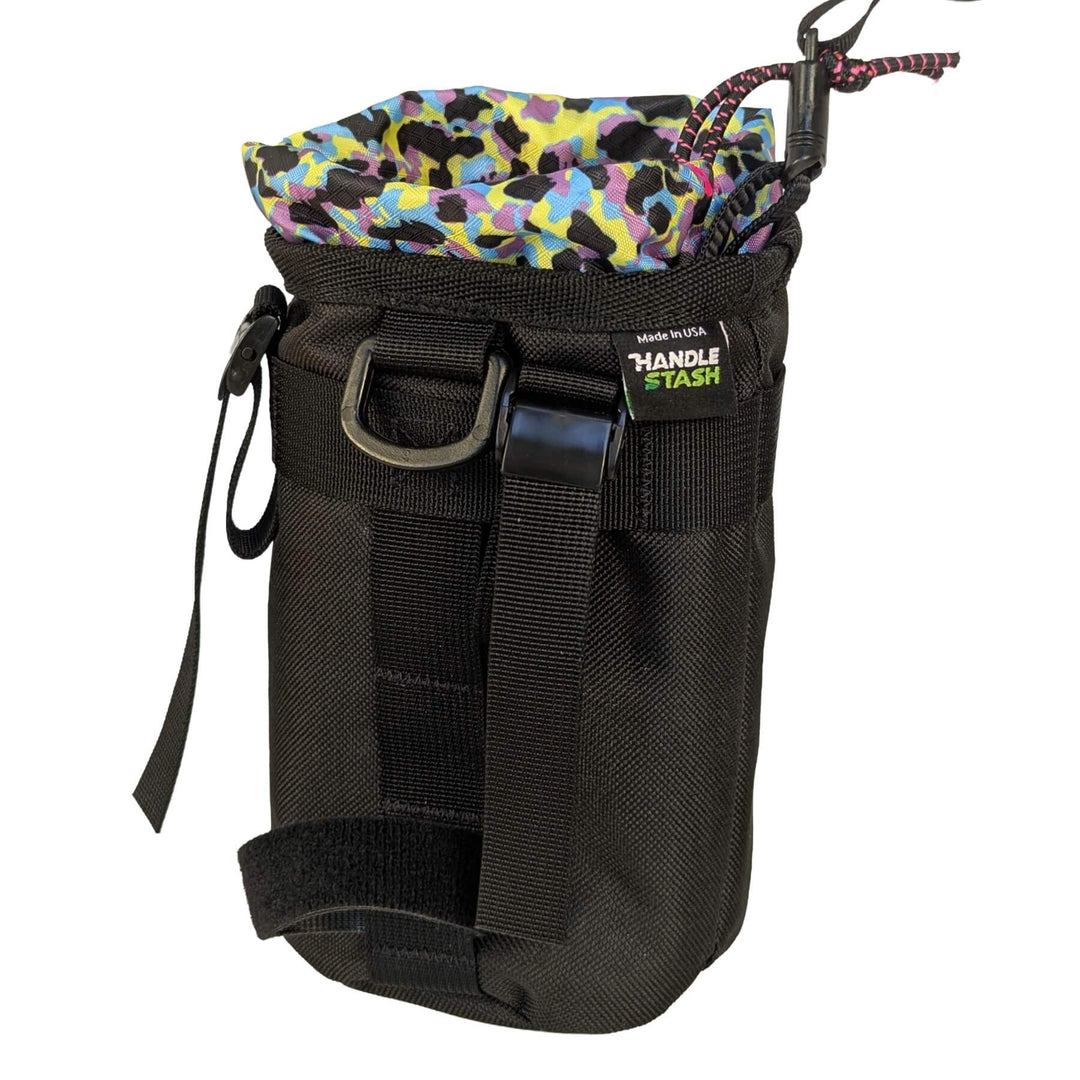
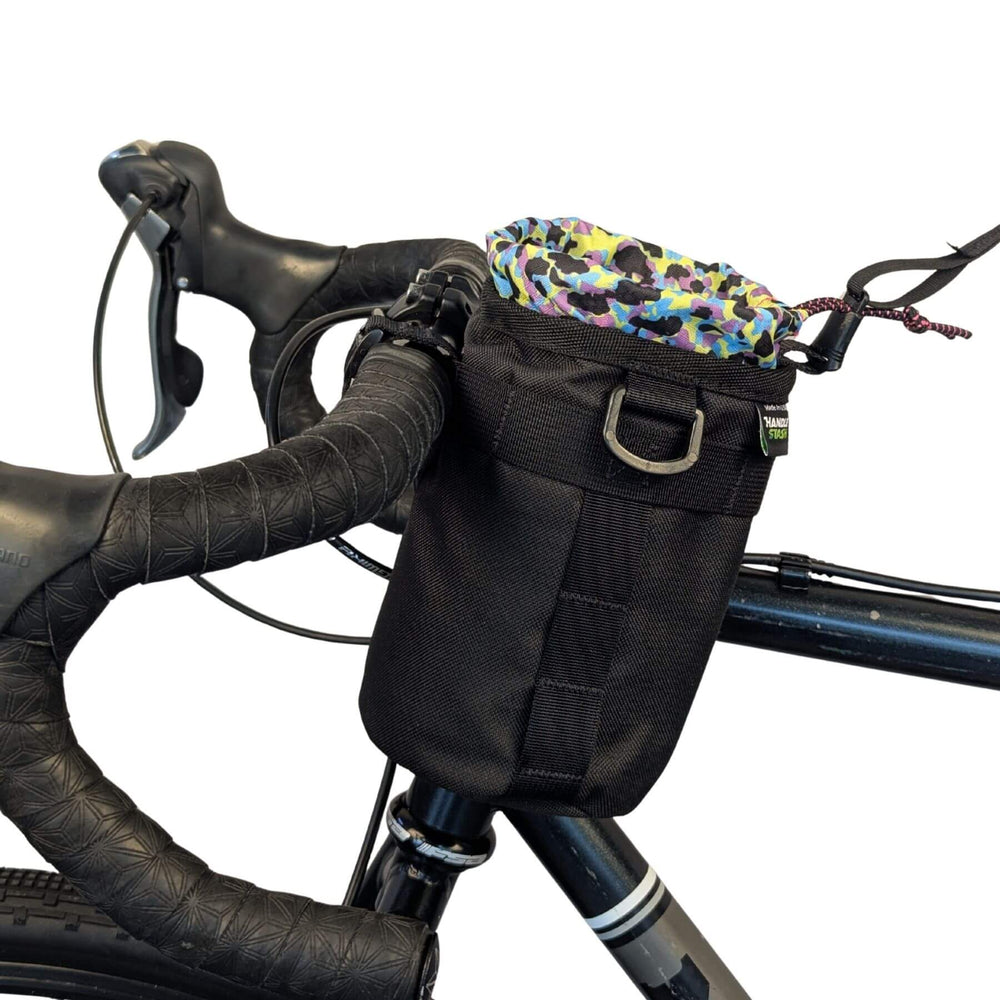
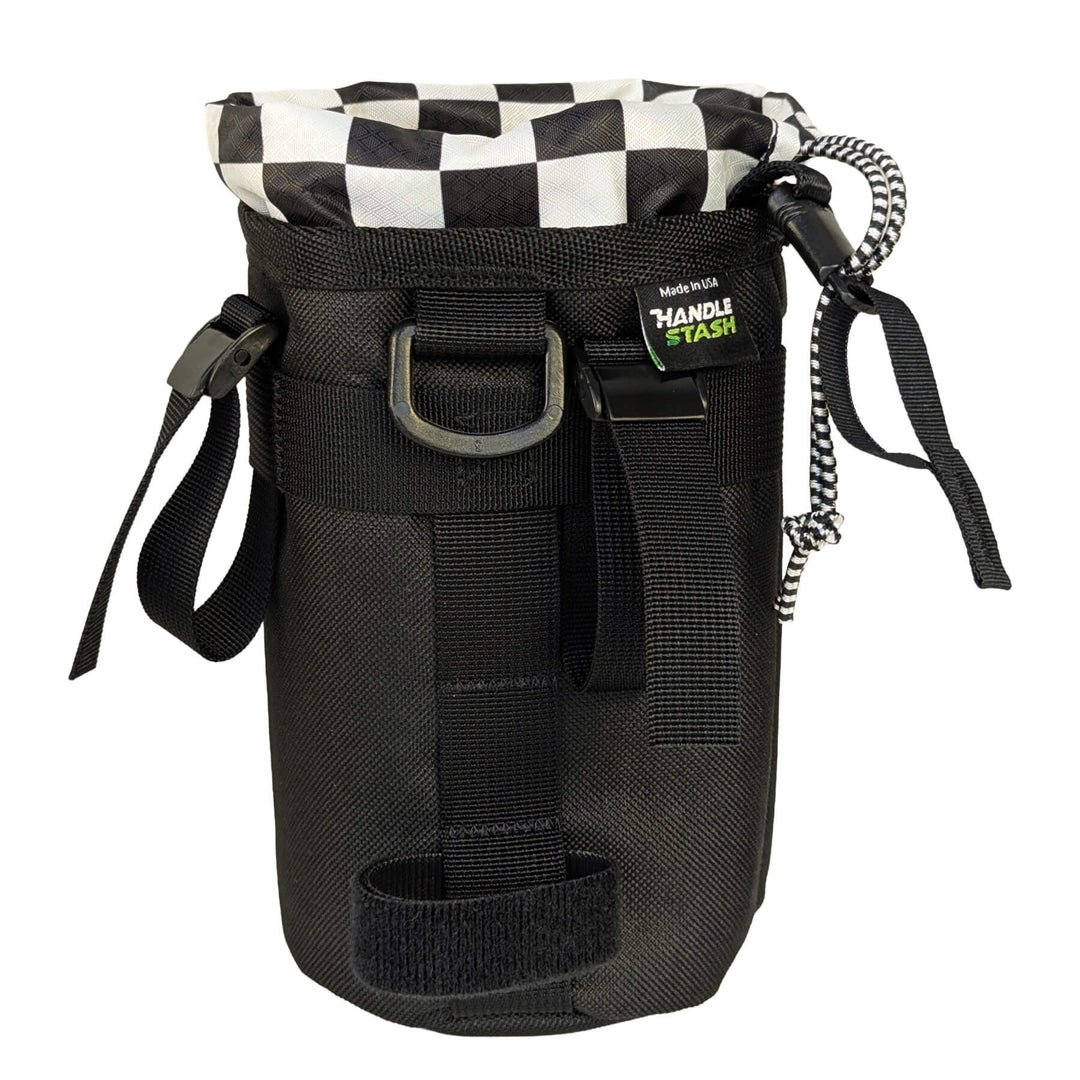
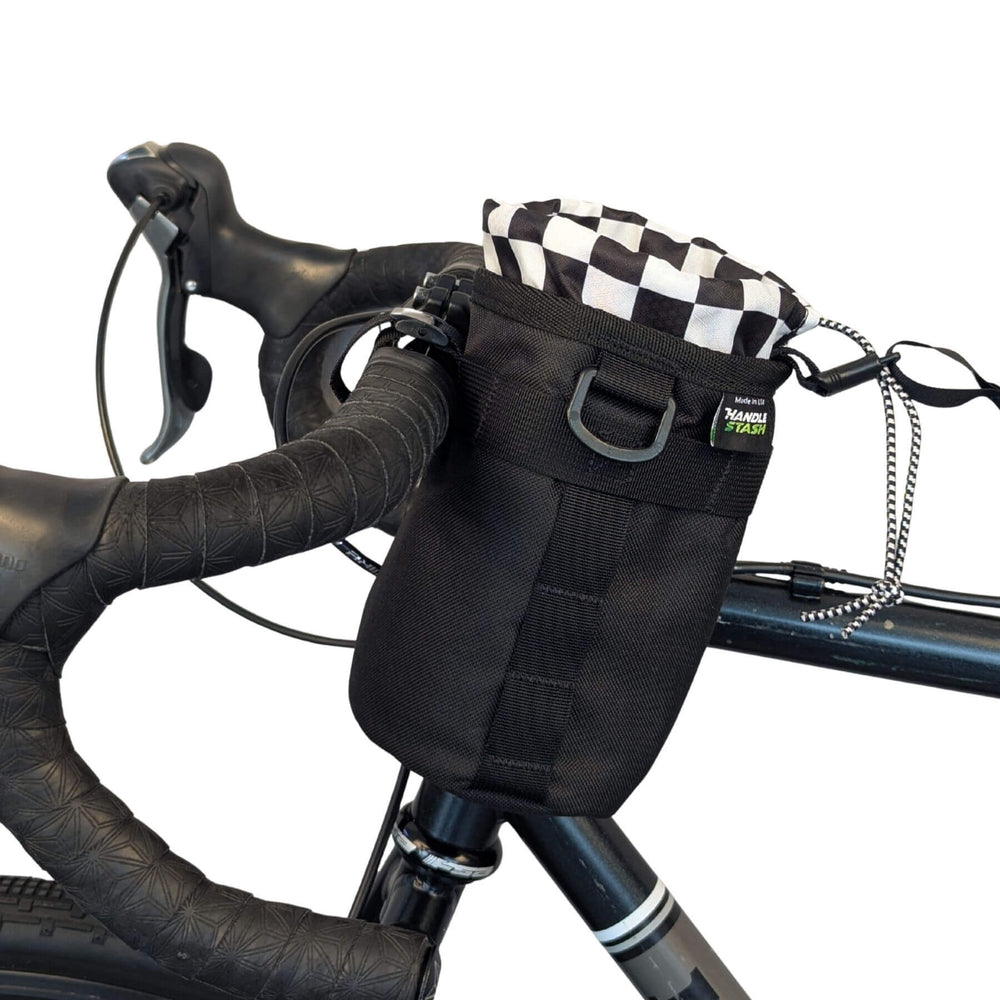
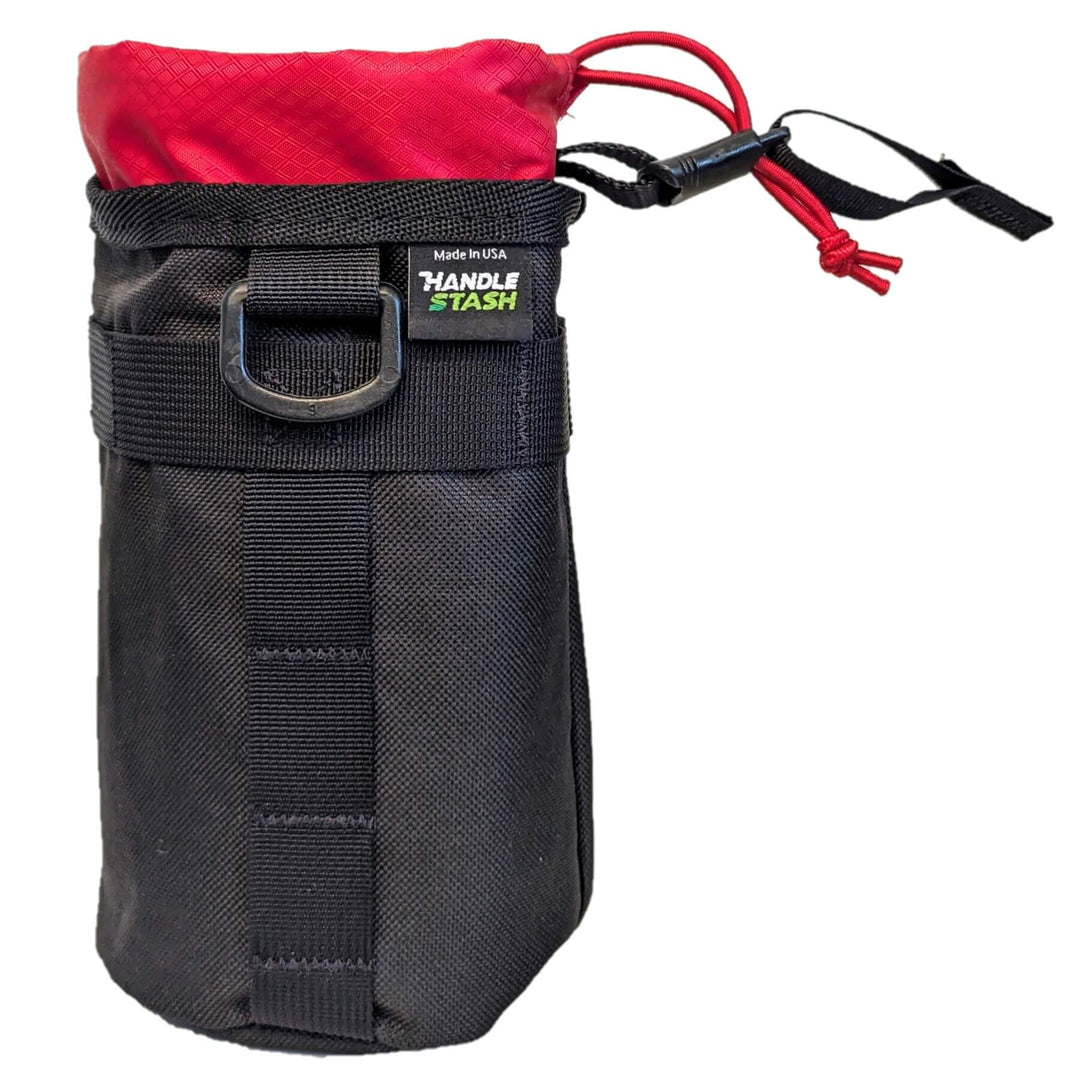
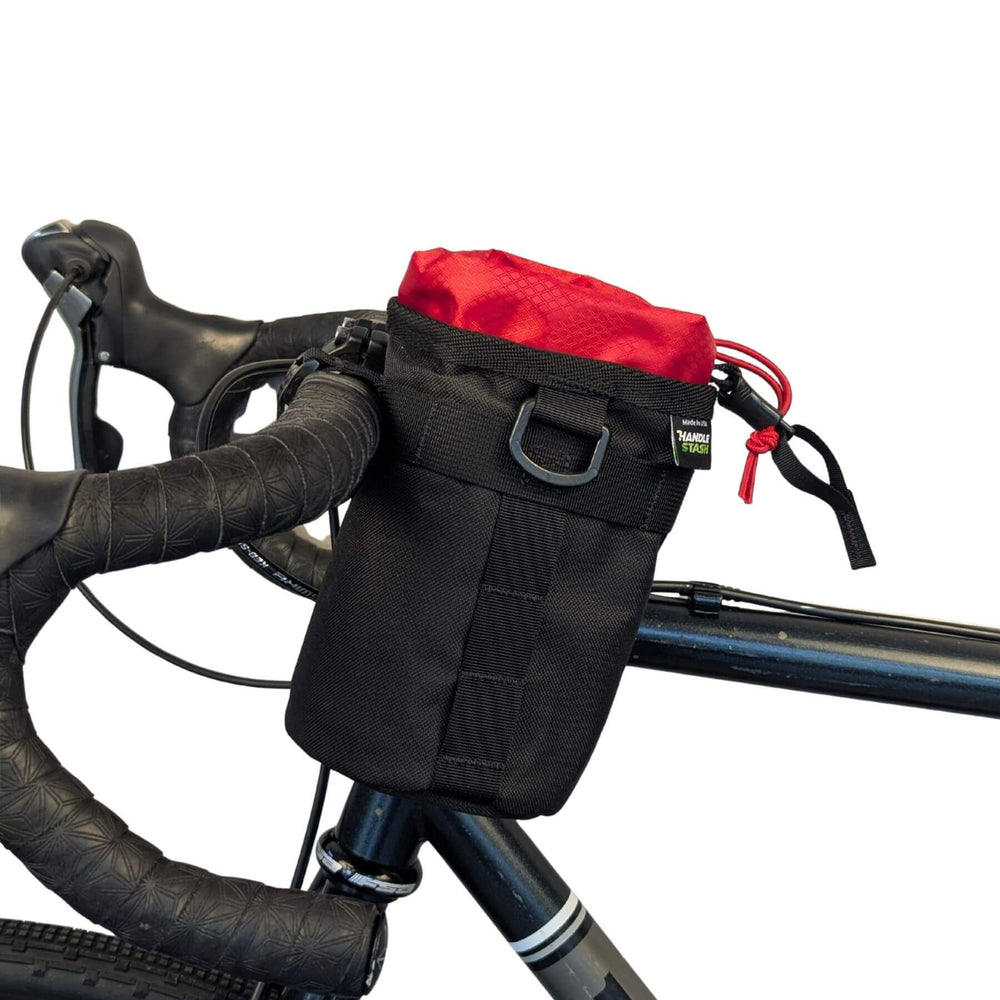
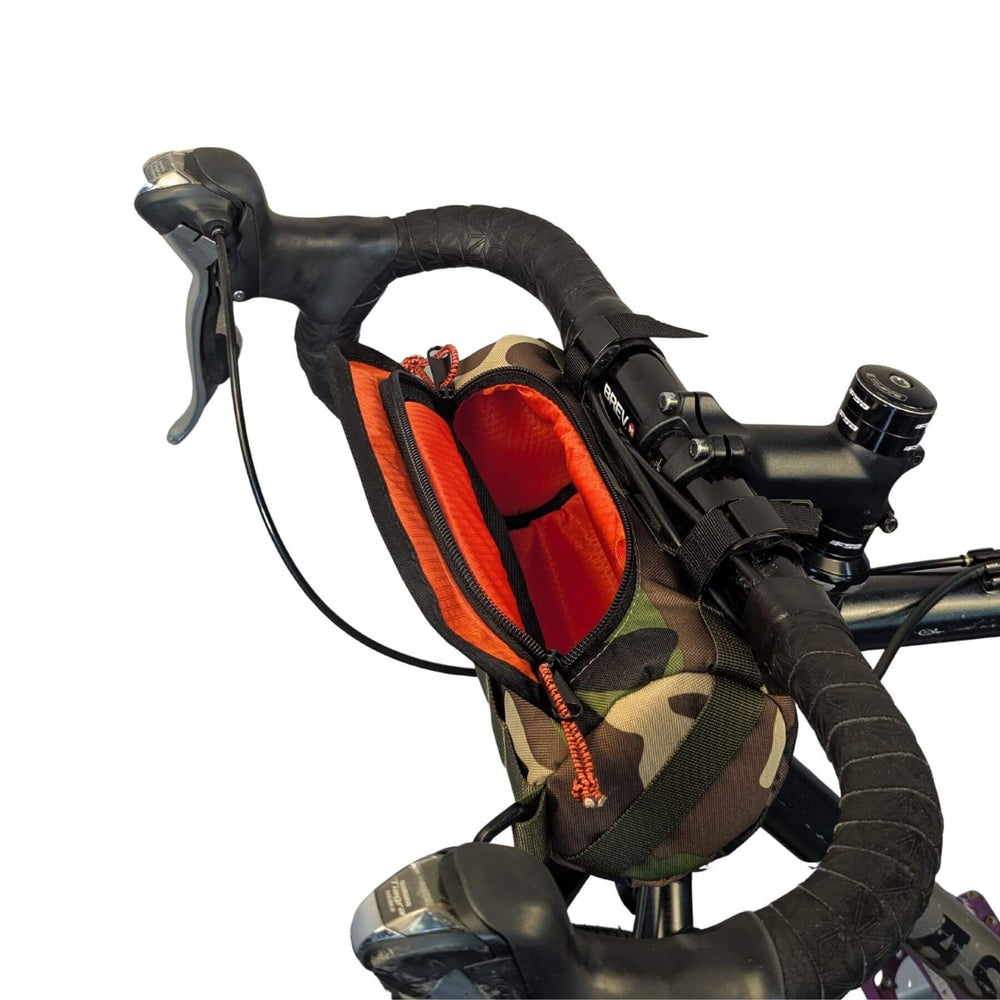
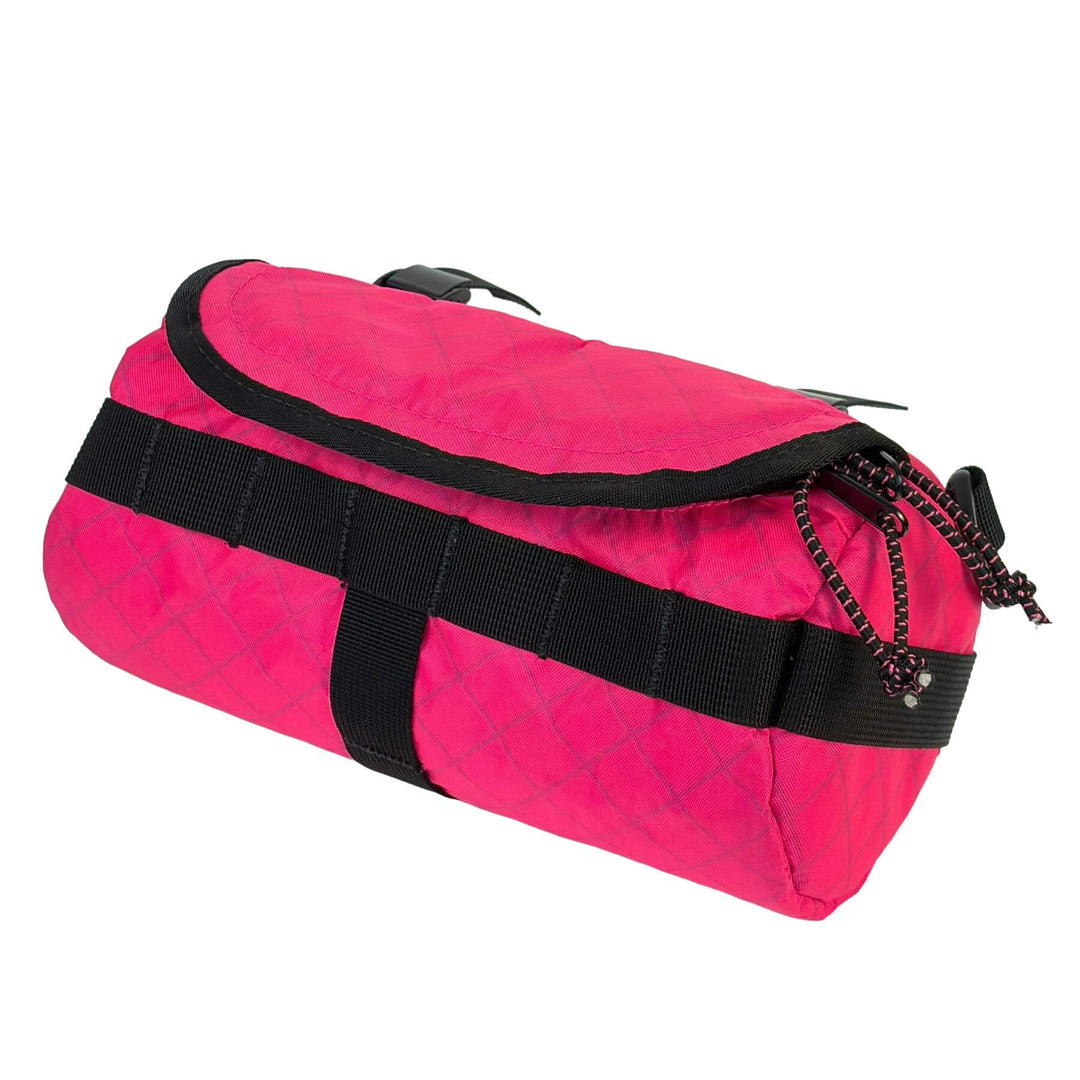
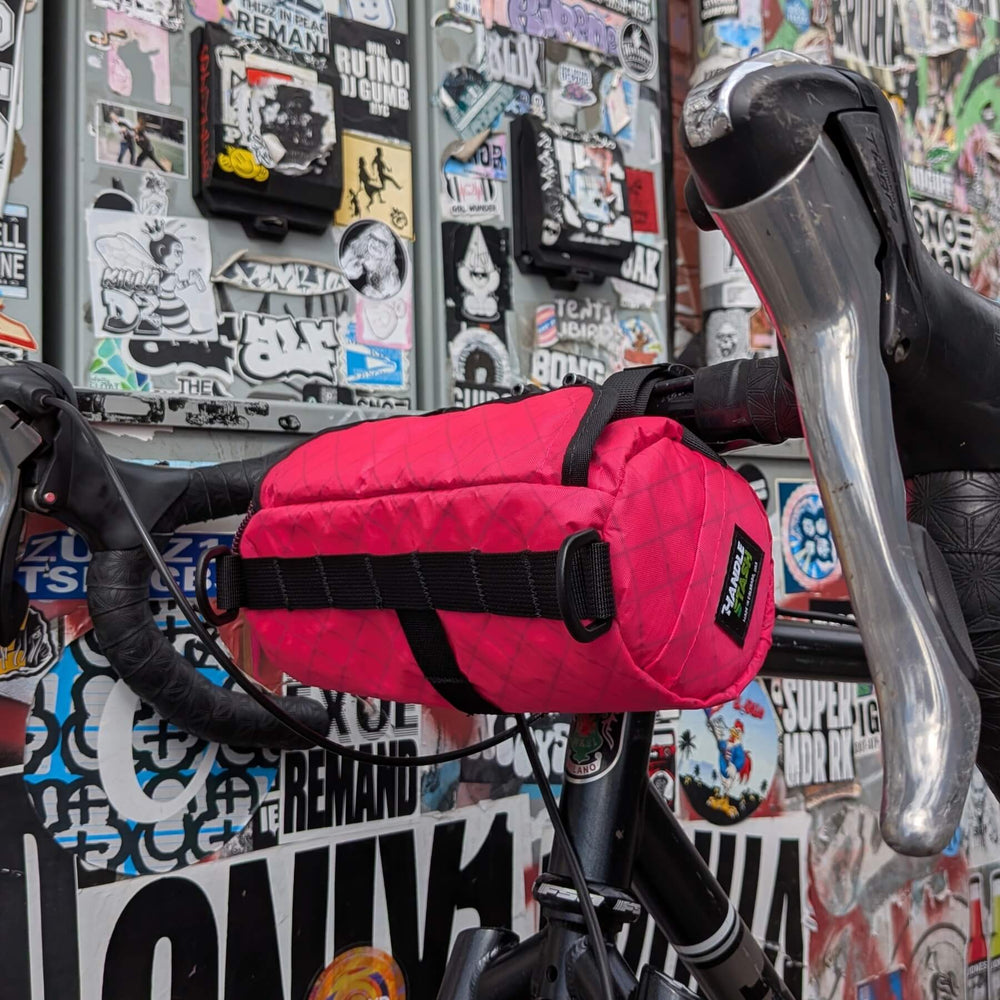
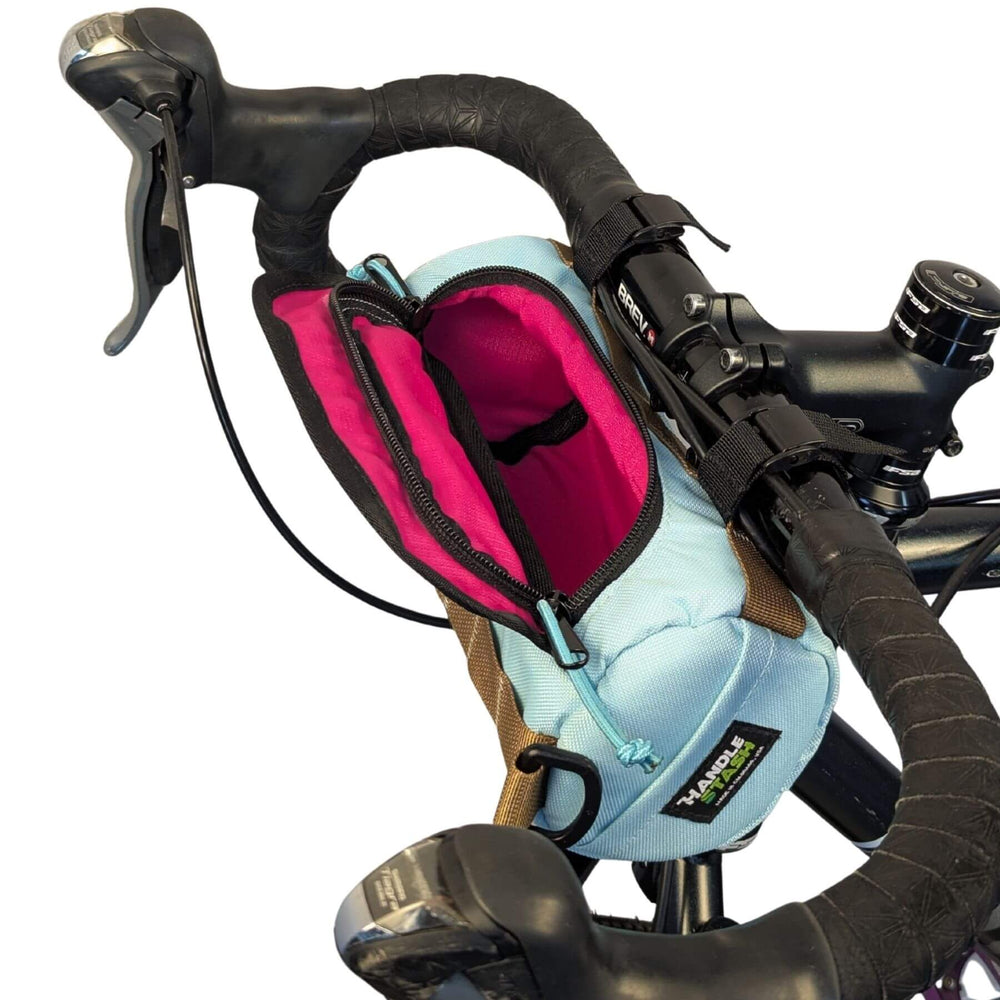
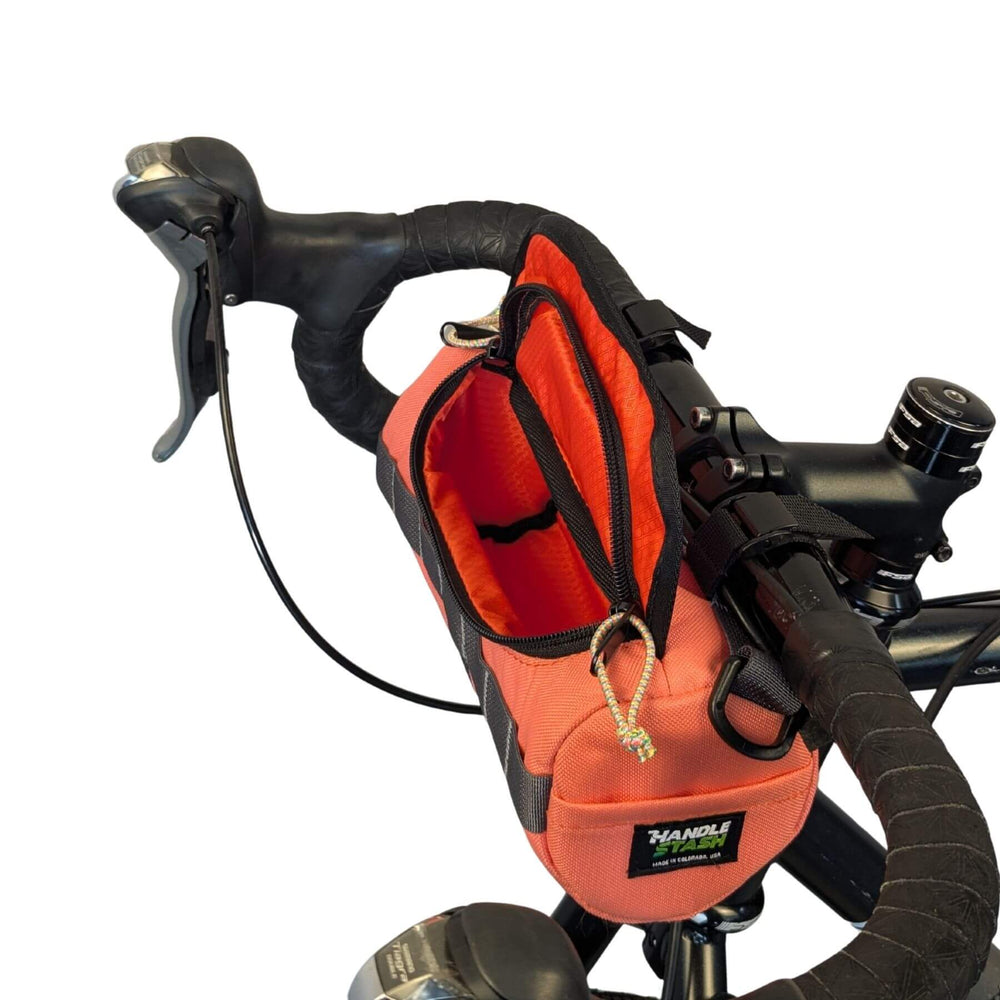
Once you’ve got your bike setup to never worry about flats again, celebrate by grabbing your favorite beverage and going for a ride with your HandleStash cup holder. You’ve earned it!








Leave a comment